Using Figma plugins to improve the design process - Color Adjustment
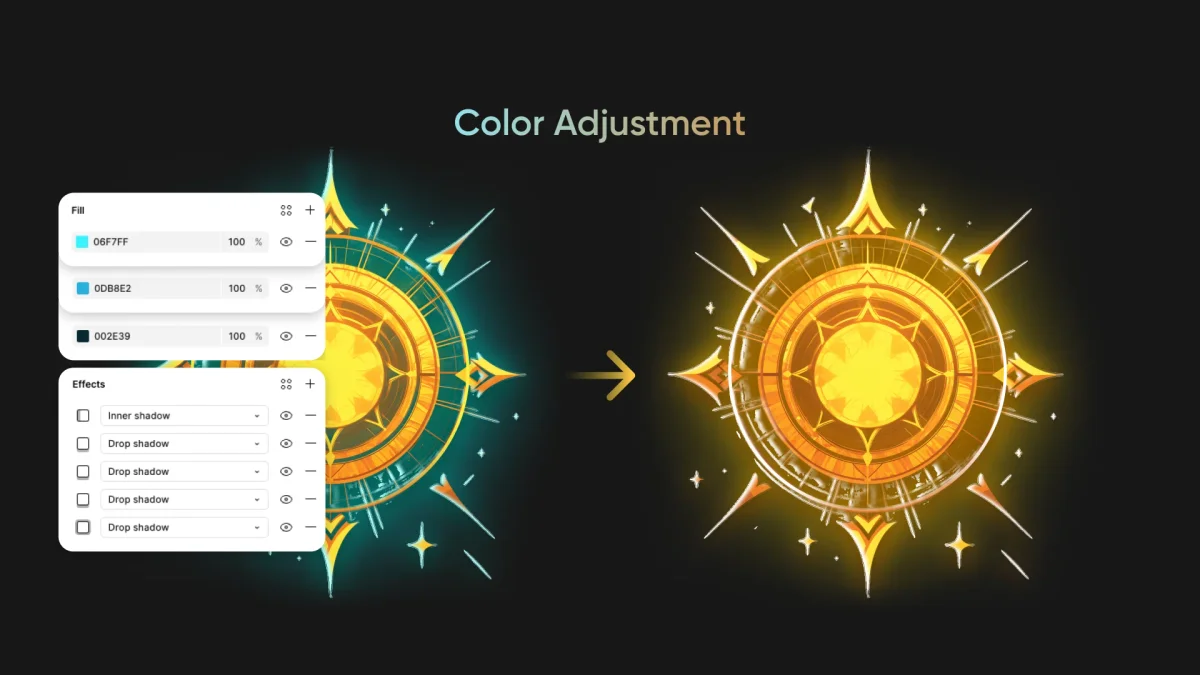
Explore how to improve your design workflow with the Figma plugin “Perceptual Color Adjustment”! This article shares a Discord badge design experience to help save time and work more efficiently.
Contents
Context
I needed to design a badge system for our company's development team's Discord server - mainly for fun, to make the internal chat more visually appealing. Each badge would have its own symbol, colors, and effects.
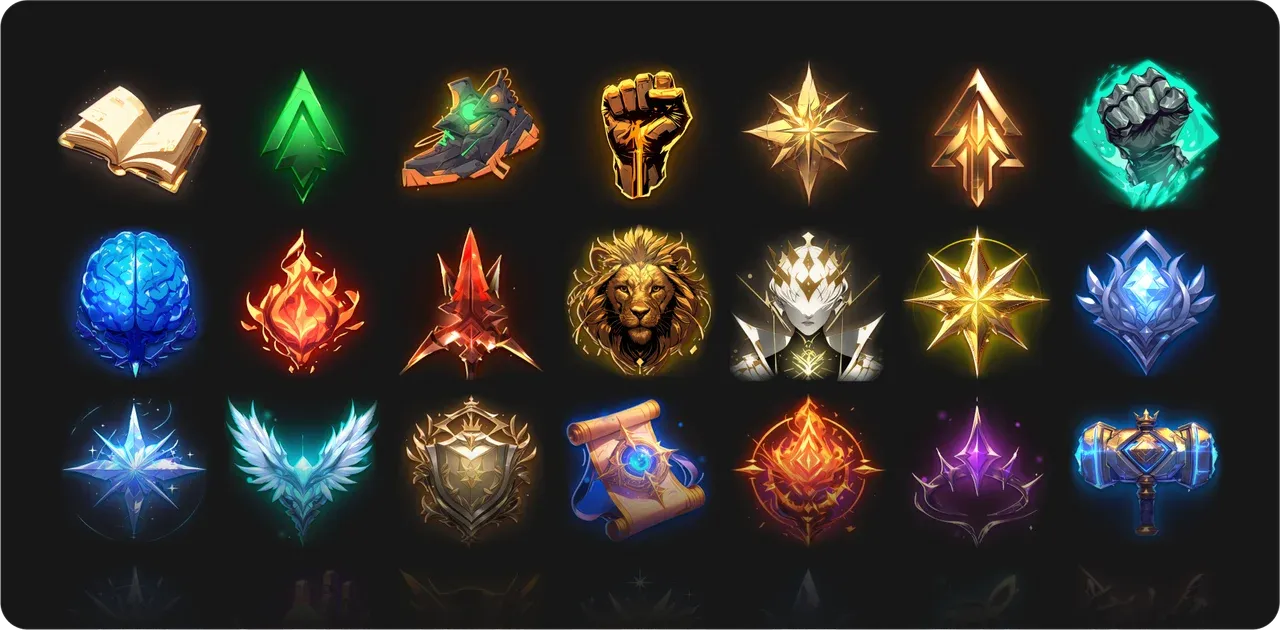
The intended badge system
Each badge typically consists of filled shape layers with blur applied to create an overall glow. I also use lighting effects to highlight the main symbol. Altogether, each badge has around 8 color settings to adjust.
Around 8 different color settings in total
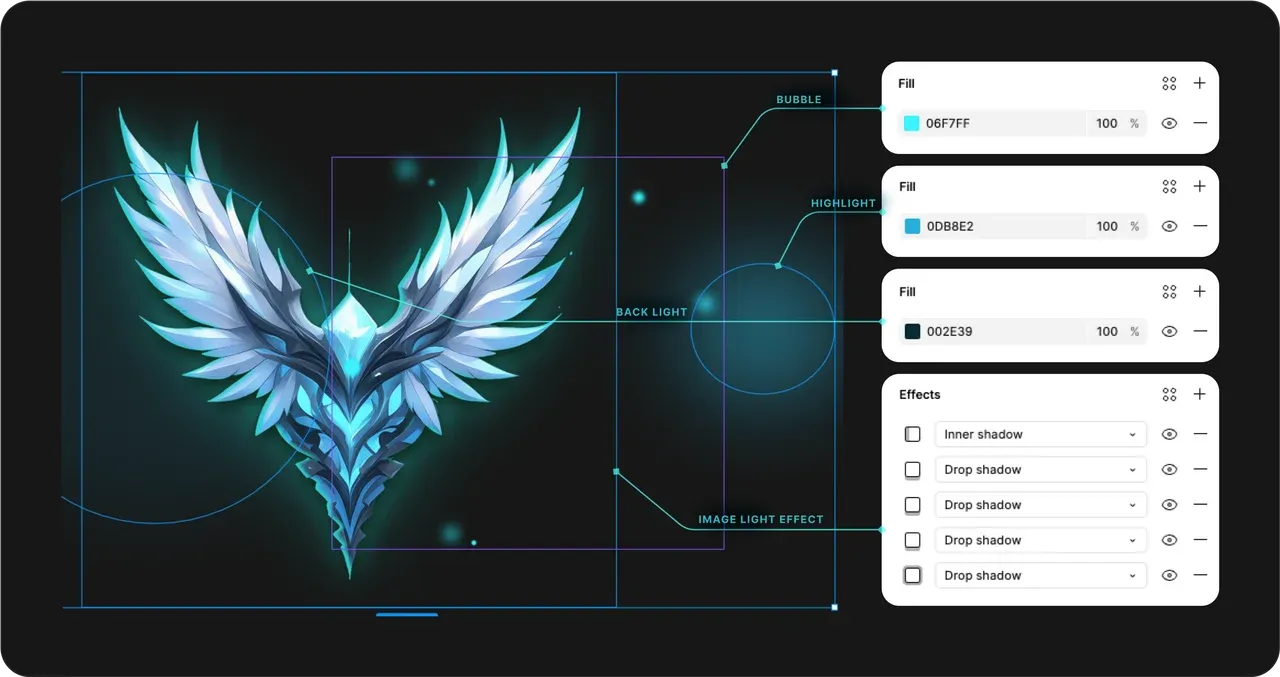
Many color fills
The problem
To work quickly, I can copy one image's styles and paste the effects onto others rather than creating them from scratch each time. But because each badge has its own color scheme, I still need to adjust the colors individually.
Manually, I'd need to change 8 color settings for every badge. Across 35 badges, that's 280 color changes! Even thinking about it sounds time-consuming, doesn't it?

After copying styles from one completed image and quickly pasting them onto the others
The solution
At first, I thought I could speed things up by copying the styles from a sample badge and pasting them onto the others. But since every badge has its own colors, I still needed to adjust them for each design.

Finding a faster way to change colors in bulk
Introducing the plugin
To solve this, I found a very useful plugin called “Perceptual Color Adjustment” (by Jeremy Knudsen). It lets users adjust hue, saturation, and brightness across all colors in the selection at once. In particular, it supports colors in:
✅ Fills, ✅ Strokes, ✅ Color effects.
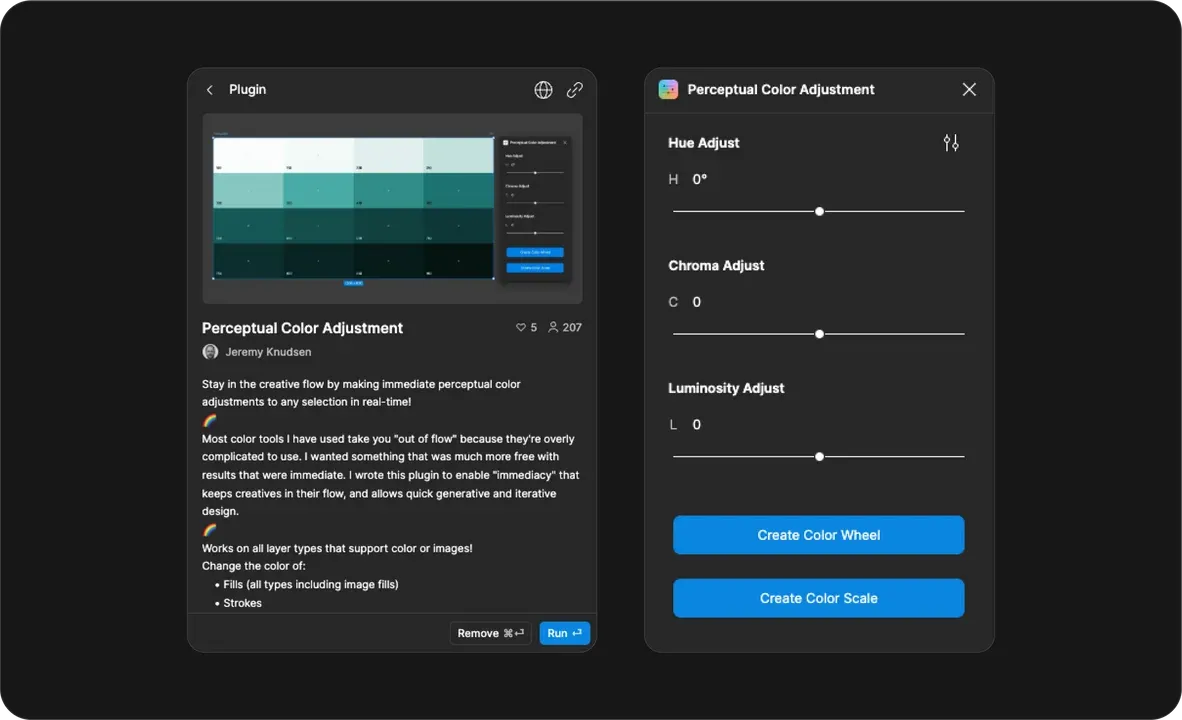
Plugin Figma: Perceptual Color Adjustment
How to use it
Step 1: Select the parent frame containing the entire badge design. Step 2: Open the plugin Perceptual Color Adjustment from Figma's Plugins menu. Step 3: Adjust hue, saturation, and brightness to get the desired colors.
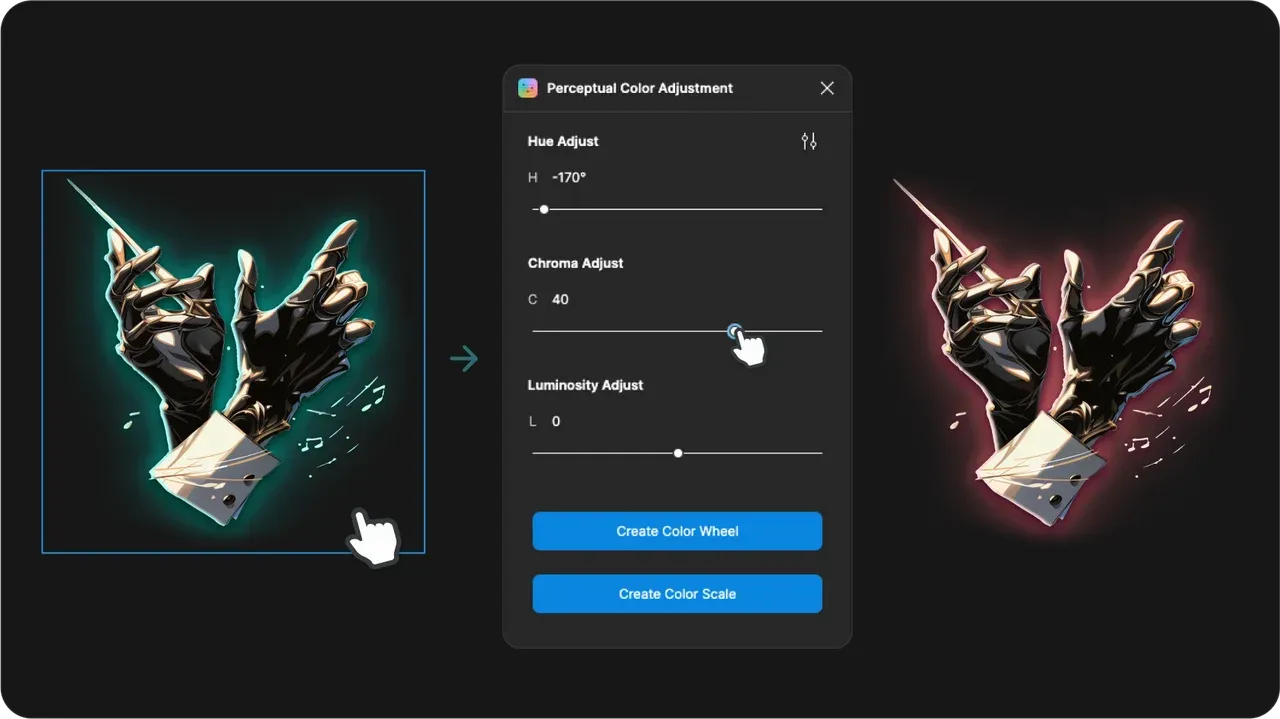
Just drag the controls until it looks right
With this approach, I only need to make one adjustment instead of manually changing every color setting
This approach improved my design speed by around 80% compared with my original method!
Other applications
For image editing, I also use plugins such as Photopea to edit images directly in Figma, saving time by avoiding a switch to another application.
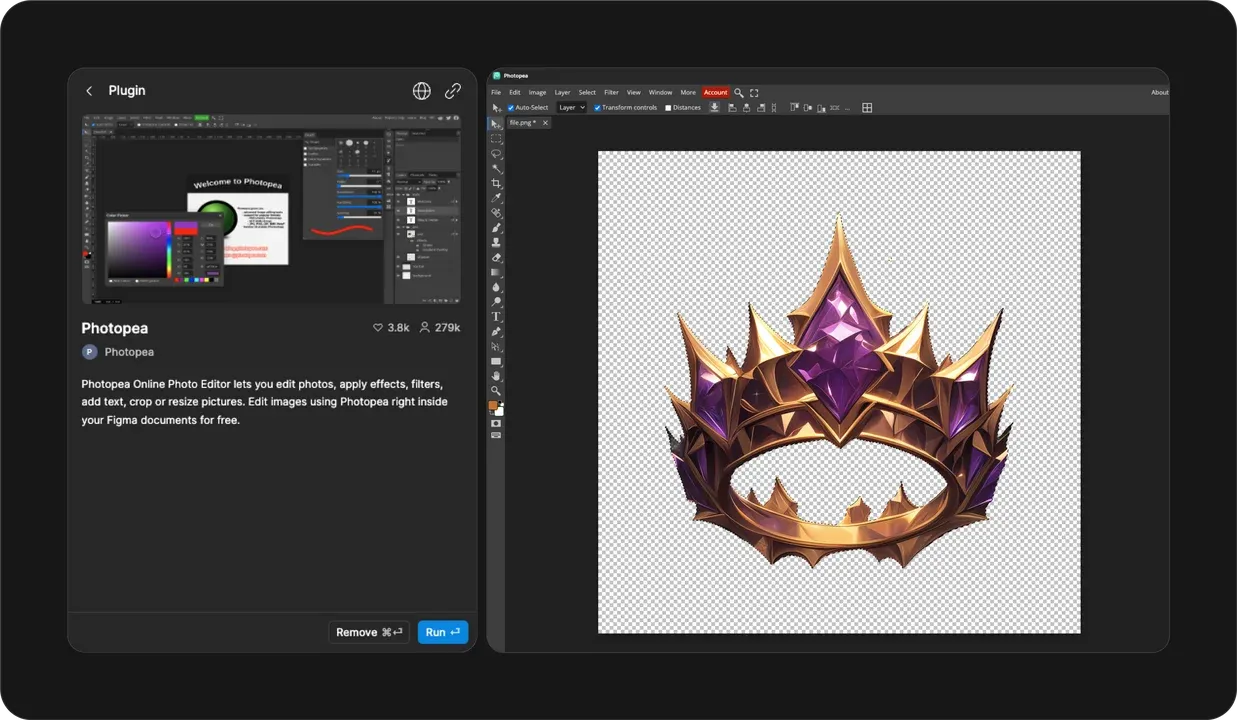
Plugin: Photopea
These are techniques I've used to improve my Figma workflow. I hope they help in your everyday work.
If this sounds useful, try the plugin and share your experience! Feel free to leave questions or suggestions in the comments - I'd love to hear from you.
Resources mentioned in this article
https://www.figma.com/community/plugin/1400205745184914372/perceptual-color-adjustment
https://www.figma.com/community/plugin/1164118094004004837/photopea